Brief: this plugin allows you to add events and occasions related to the website members using advanced settings that make it more creative and effective tool such as, adding the website to Google map.
Firstly: Event plus plugin settings:
1-Log In to the control panel
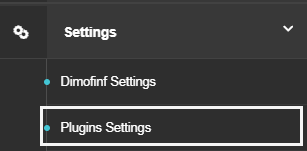
2-From the setting list, select (Plugins settings) as the below picture:
3-Alist will show up, choose (Event plus settings) as shown below:

The below setting options will show up:
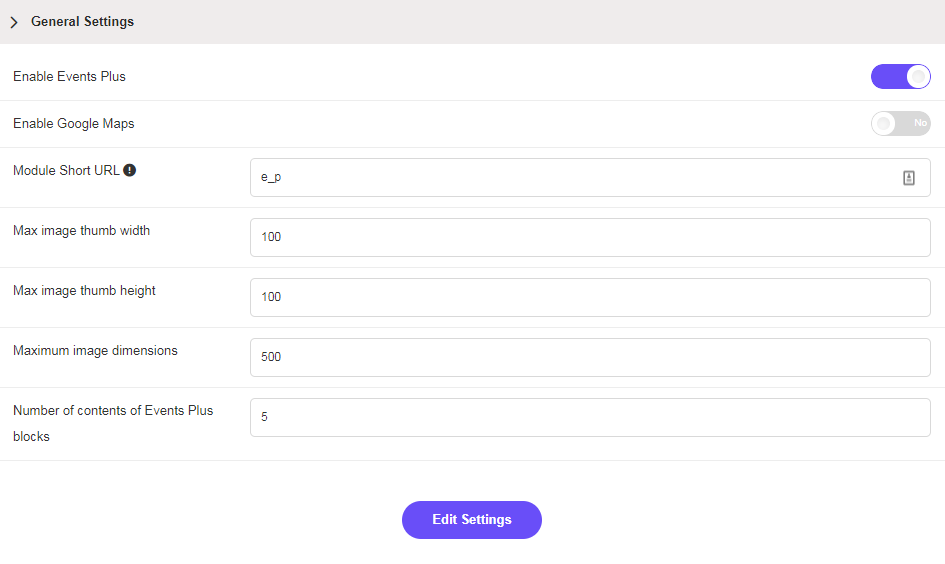
-Enable Events Plus: activate or deactivate this plugin.
-Enable Google Maps: activate or deactivate Google map that sets the event location.
-Module Short URL: short URLs are used to facilitate reaching the website page by adding a keyword beside the domain. For example, adding the word “event” in the field like below:
http://www.domainname.com/events
Note: it should be unique and doesn’t contain numbers or Arabic letters.
-Max image thumb width & Height: is the downsized version of the picture that is displayed on the website pages except for the event page. You can set the maximum width and height of it, noting that the most suitable size is 75*75.
-Maximum image dimensions: all uploaded pictures will be automatically resized to the set numbers.
-Number of contents of Events Plus blocks: set the number of blocks used for this plugin.
Press (Edit Settings) to save.
Secondly: Follow the below to add an event:
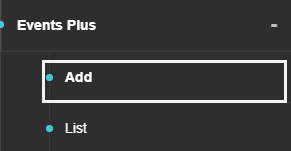
From the control panel> select plugins>events plus> then add as the below picture:
The below template will show up:
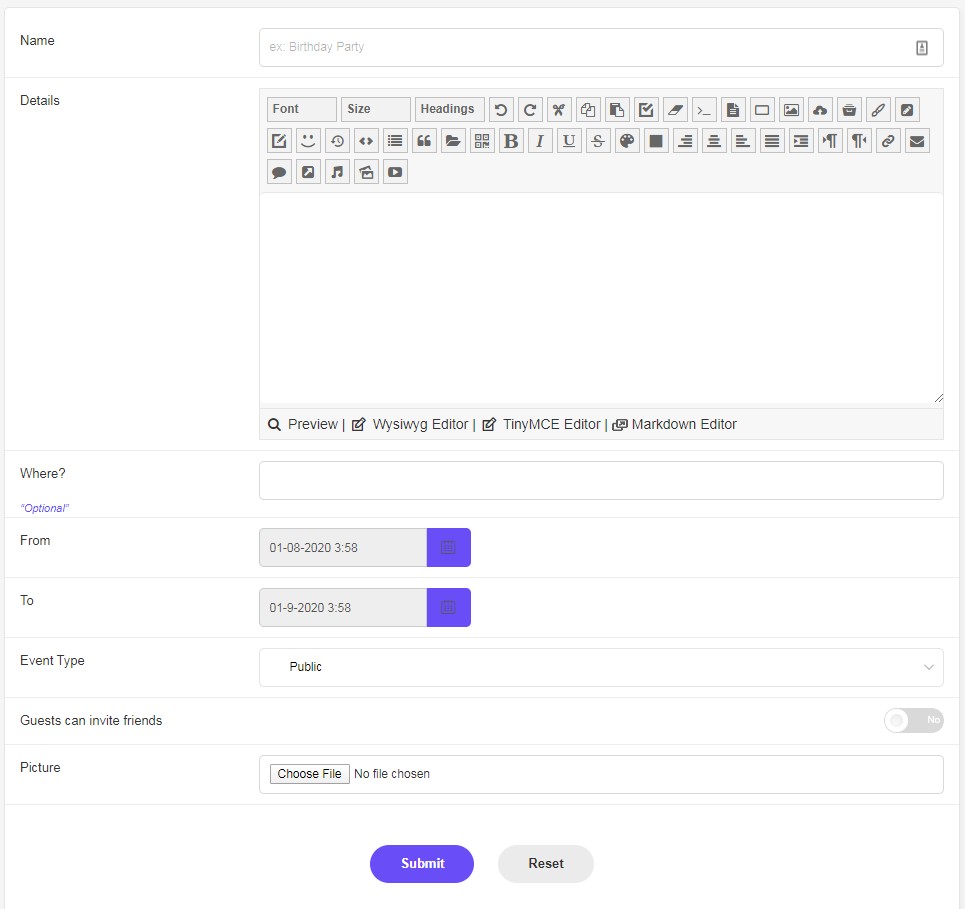
-Name: enter the event title.
-Details: enter details about the added event.
-Where?: enter the event location noting that, google map will show up incase of being activated.
-From- To: set the time when the event is started and ended.
-Event Type: choose whether this event is public one or only for invitations holders.
-Guests can invite friends: if you activate this option, the guests can invite their friends to attend the vent.
-Picture: attach a picture that is related to the event.
Press (Submit) to add an event, or (Reset) to re enter a new data.
Thirdly: To list, edit, or delete any event, follow the below:
From the control panel> select plugins>events plus>list as the below picture:
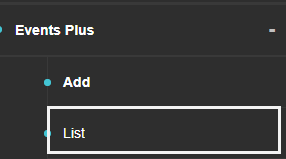
The below picture will show up:

-Edit Icon: is used to edit any event details.
-Delete Icon: is used to delete any event.
Fourthly: The plugin displaying method on the website:
The block (events plus) can be added to any location on the website using the default layout, for more details, click here
 Please Wait...


