Brief: This module allows you to add the company branches, working hours, contacts, and location on the map.
Add Branch:
You can the company branch by using the website interface or the CMS control panel.
Firstly:
By using the website interface, enter to the modules list and press (branches)> then (add).
Secondly:
Follow the below steps to add branch using the control panel:
Select (Company Module) from (Modules) list, >press (Company branches) > then (Add) as shown below:

In both cases, the below template will show up:
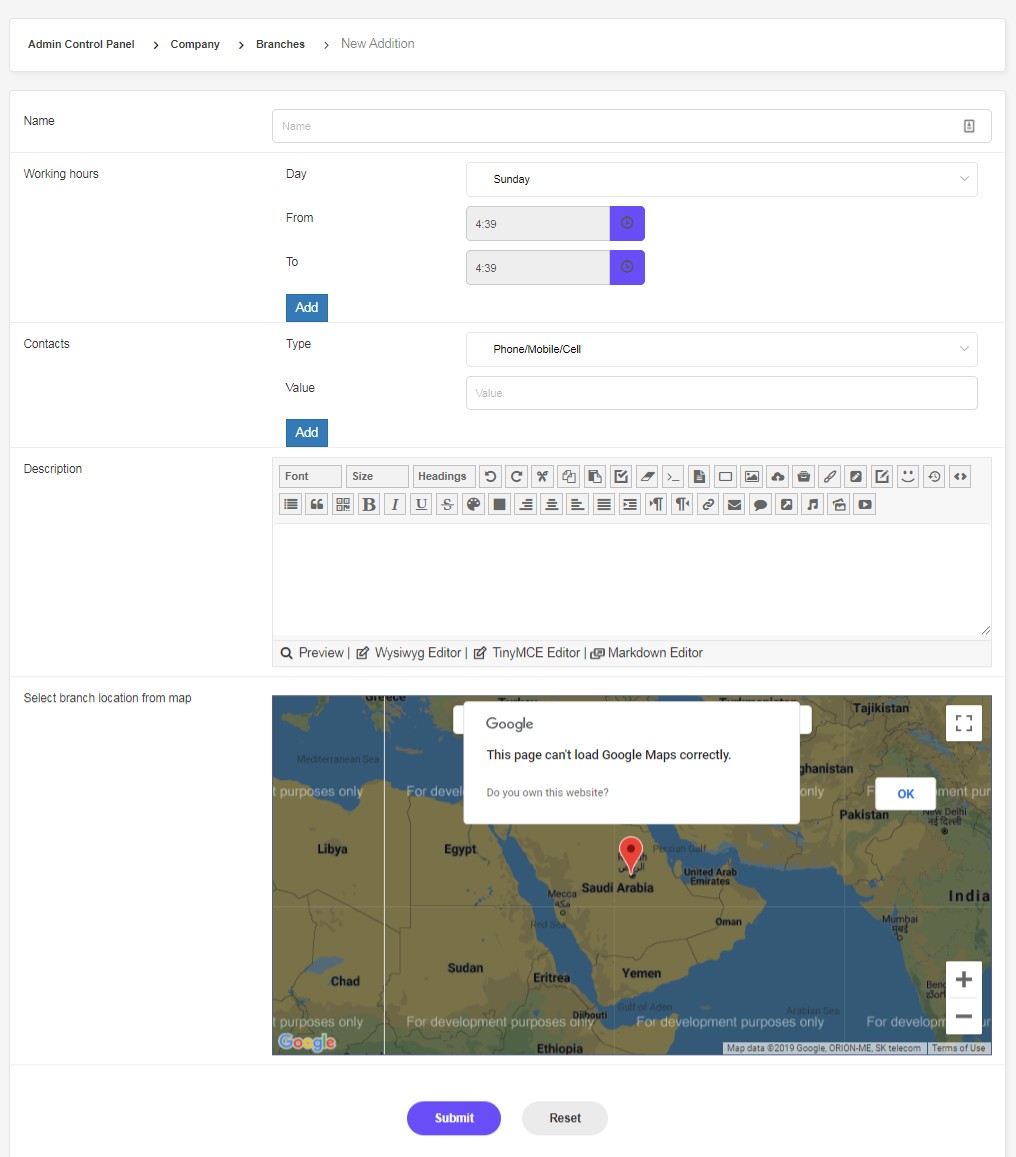
-Name: enter the company name.
-Working hours: set the branch working days and hours.
Note: if (Enter detailed working hours is deactivated), the working hours will be logged using a box.
-Contacts: enter your communication system such as (phone number, email, etc).
-Description: enter more details about the branch.
-Select branch location from map: set the branch location on Google Maps, so your customers can reach you easily.
Press (Submit) to save, or (Reset) to enter new data.
Edit or Delete branch:
This action can be tackled using both the website interface or the control panel.
On the interface, there are two icons shown to the website admin; (edit & delete).
From the CMS control panel, follow the below tutorial:
Select (Company Module) from (Modules) list, >press (Company Branches) > then (List) as shown below:
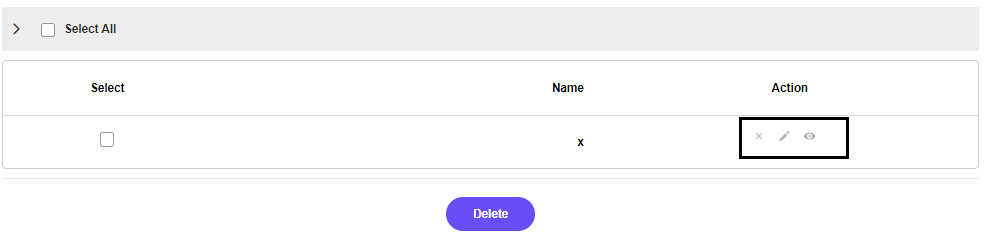
Beside each branch, there are three buttons (View, Edit, or Delete).
View: transfers you to the branch page on the website.
Edit: transfers you to a box where you can reset the branch date.
Delete: allows you to delete the branch completely.
You may (Select all), or choose certain branches and press (Delete) at the bottom of every page.
 Please Wait...


