Brief: this plugin is considered as a files manager that enables you to upload pictures and pictures using an icon that is added to the codes editor.
Firstly: settings:
1- Login to the control panel
2- from the side list, select (settings)> then (plugins settings) as the picture below:
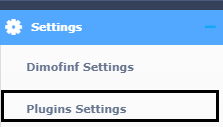
3- the settings list will show up, choose (Moxiemanager settings) as the picture below:

The below page appears:
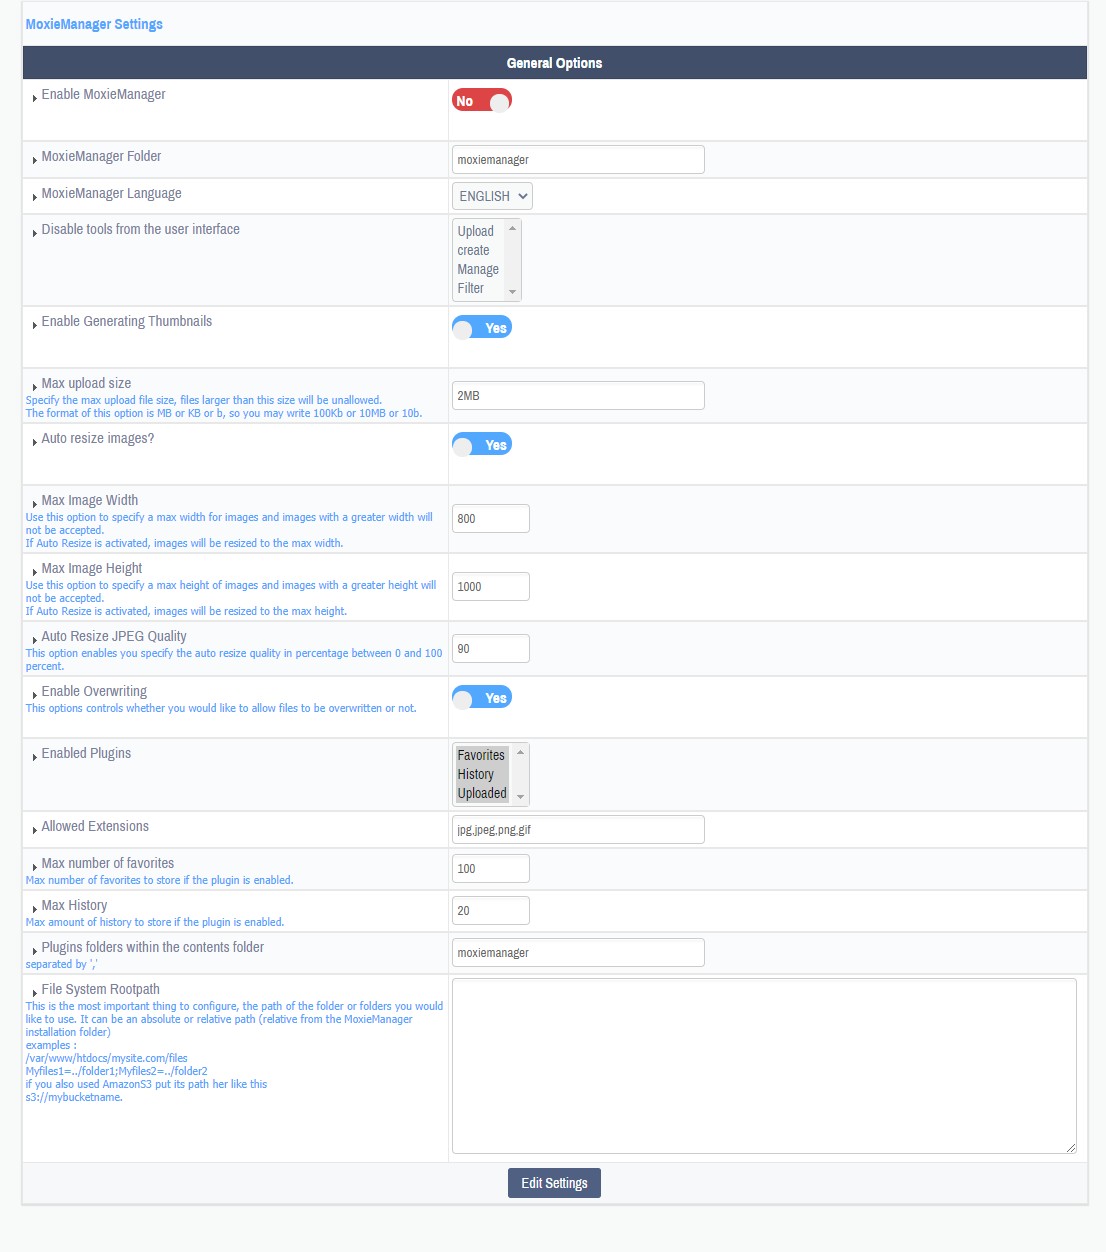
-Enable MoxieManager: to activate or deactivate the plugin.
-MoxieManager Folder: is the name of the folder that exists on the server.
-MoxieManager Language: choose the language used for the plugin.
-Disable tools from the user interface: choose the tools you want to display.
-Enable Generating Thumbnails: if you activate this option, any uploaded picture will be resized to be smaller.
-Max upload size: set the maximum size of the uploaded file.
-Auto resize images?: activate this option, so all uploaded pictures will be resized automatically to the next set dimensions.
-Max Image Width: set the maximum width of the uploaded pictures.
-Max Image Height : set the maximum height of the uploaded pictures.
-Auto Resize JPEG Quality: set the percentage of the picture quality.
-Enabled Plugins: choose the plugins you want to show in the file manager.
-Allowed Extensions: enter the allowed extensions to be uploaded through this plugin.
-Max number of favorites: set the maximum number of faviourts if the plugin is activated.
-Max History: set the maximum number of stored files if the plugin is enabled.
-Folders in contents folder: are the plugin folders included in a folder named “contents.
-File System Rootpath: is the used path to upload files.
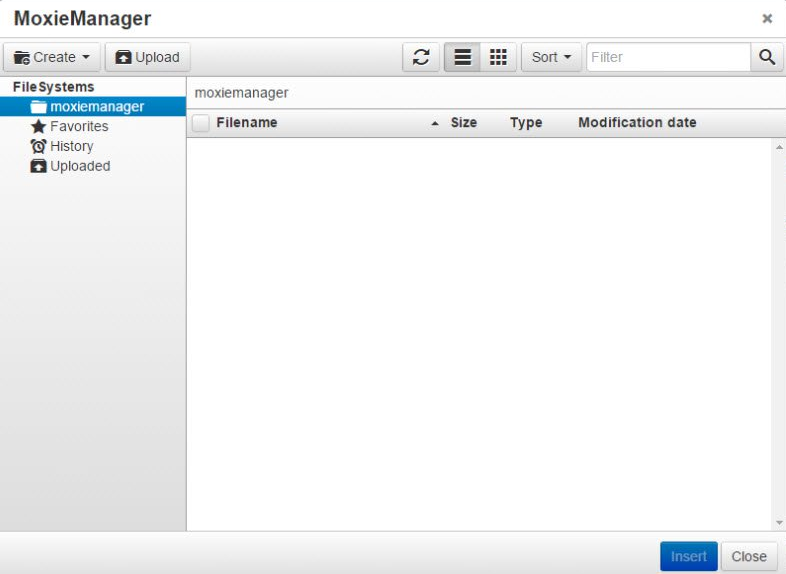
Secondly: edit and use the plugin:
- File Manager main page:
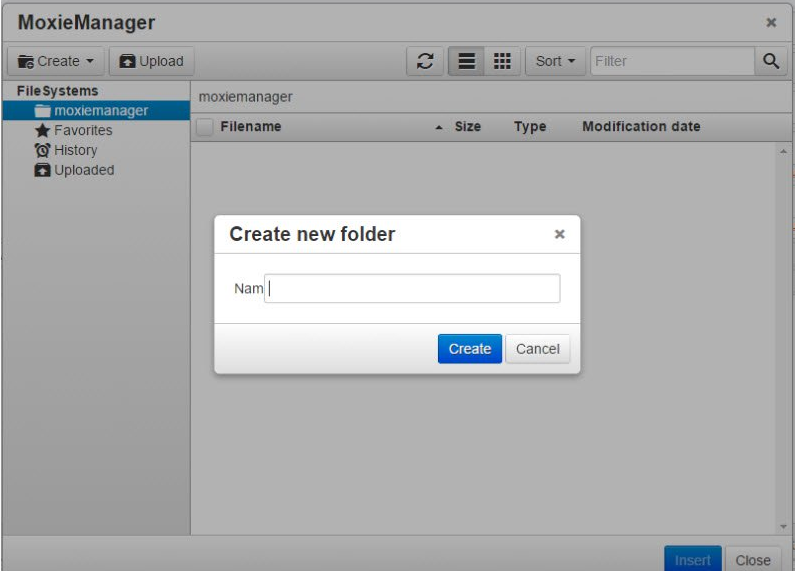
- Create folders in the file manager:
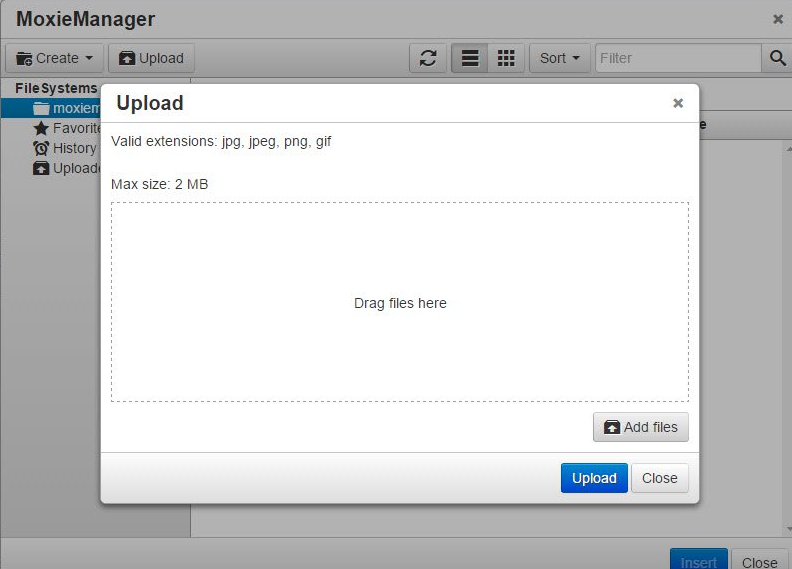
- Upload folders:
 Please Wait...


