W3 Total Cache is a WordPress plugin and one of the most popular plugins that help you to improve your blog performance and reduce its load over the host server, where you feel a huge difference up to (10) times the previous speed in case of activating all its properties.
Features:
- Compatibility with Dimofinf hosting.
- The ability to be set to work with a CDN services provider.
- Mobile support; where you can customize cache for certain group of members or switch theme using User-Agent.
- Caching of pages and restoring it in the website files or in the memory.
- Caching of CSS and JS files.
- Caching of sections, keywords, comments and search results.
- Caching of search results such as URIs which include Query String.
- Caching of databases queries.
- Minimizing Response Body for topics, pages and feeds.
- Browser caching supporting Cache-Control, ETag and Expires.
Benefits:
- At least speed up to (10) times the previous speed that you will receive when you activate all the plugin properties.
- Improving the website performance at the search engines.
- Instant review for pages using cache properties.
- Speed of processing and reviewing pages.
- Reducing the time spent in loading pages.
- Improving website browsing at peak hours.
- Saving (80%) of the bandwidth by compressing HTTP requests of feeds, JS, CSS and HTML.
For more information about the plugin, please press here.
Installation:
1- Login to the control panel: http://domain.com/wp-admin.
2- Choose (Add New) from (Plugins) list.
3-Search for (w3 total cache).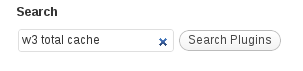
4- Install by pressing (Install Now).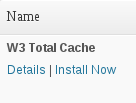
5- Confirm installation by pressing (OK) after the (Are you sure you want to install this plugin?) message shows up
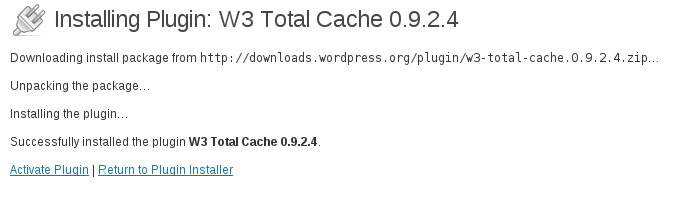
6-A message will be displayed that the plugin has been successfully installed, then press (Activate Plugin).
7- Press (Settings) below (W3 Total Cache) to adjust the settings.
8- Edit the following settings:
- Activate Page Cache:
This property creates static pages of dynamic content, rather than reviewing dynamic content every time the pages are requested, and it helps greatly to reduce consumption and improve browsing performance.
- Activate Minify:
This property is responsible for minimizing CSS and HTML files by adding line breaks, comments and spaces to be able to load them faster through the browser.
- Activate Database Cache:
Using this property, database queries results are saved, rather than executing the queries from the database server each time.
- Activate Object Cache:
There are internal cache systems available in Wordpress related to sub-systems such as Caching API, Object Cache and Transient API. If you are experiencing complicated queries within the database, we recommend to activate this property.
-
Activate Browser Cache:
Each time a visitor visits your website, pictures and (CSS, HTML and JS) files are loaded from the server to the browser. Using Browser Cache, these files are kept for a while inside the temporary files in each visitor’s browser, so the visitor won’t need to load the same files each time he/she visits your website.
9- Save the settings by pressing (Save all setting
10- Close the preview mode by pressing (Disable) beside (Preview Mode) in (General) block to activate the plugin completely.
If you have subscribed to a CDN services provider, you can activate it on the same page. Also, if you have subscriptions to the (CloudFlare) service provider, you can add your data, and enjoy the services integration through the plugin.
If you are a dedicated server customer, we recommend to change (Cache Method) to (Opcode: XCache).
 Please Wait...


