Brief: this setup is used to adjust the settings of the website watermark showed on all its pictures.
In order to manage this setting :
1- login to the C Panel
2- A side list will show up, select (settings), (Dimofinf settings) as shown in the below picture:

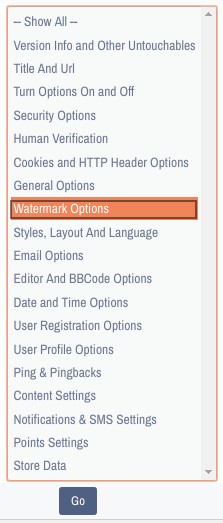
3- Another list will show up, select ( Watermark options) as shown in the below picture:
- Some options related to this settings will show up as shown in the below picture:

- Enable Watermark: A seal will be put on all the uploaded pictures. This seal is the text entered in the watermark text box.
- Watermark Type: you can choose one type; whether a text or a picture.
-Text: in this case, the text entered in the watermark box will be shown on all the uploaded pictures.
- Picture: A logo should be designed to fit the same size of the watermark as shown in this link: images/watermark_logo.png.
- Watermark Font Name: it is the watermark text type. New text types can be added by uploading the text type to the following path (include/font/ ) , besides, enter the text type name in the costume box.
- Watermark Font Size: is the size of the watermark font.
- Watermark Text: is the text shown on all the uploaded pictures.
- Watermark Stroke Color: is the border colour of the watermark text.
- Watermark Fill Color: is the colour used to fill the watermark text.
- Watermark Position: is the location where the watermark will be put on the picture.
 Please Wait...


