Brief: the (Poll) plugin enables you to create surveys for both members and users. It allows as well to set a starting and ending date of the surveys mentioning multiple options to reach the most accurate results.
Firstly: Poll Settings:
1-Log In to the control panel
2-From the setting list, select (Plugins settings) as the below picture:

3-A list will show up, choose (Poll settings) as shown below:

The below setting options will show up:
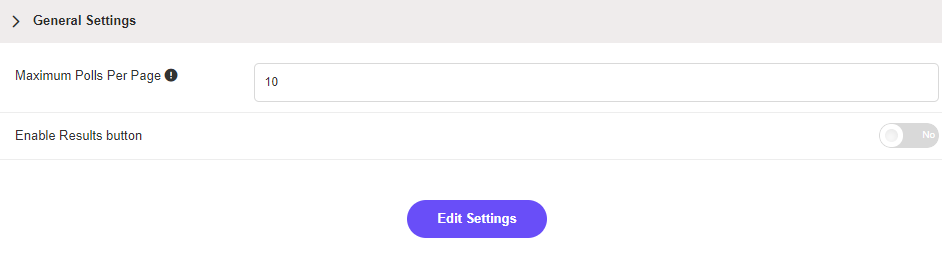
-Maximum Polls Per Page: set the maximum number of polls shown on one page.
-Enable Results button: enable or disable showing results beneath the poll, through which the visitors can acknowledge the voting percentage and number for every answer of the poll.
Press (Edit Settings) to save.
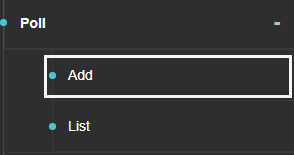
Secondly: To add a poll, follow the below steps:
From the control panel> select plugins> poll> then add as shown in the below picture:
The below template will show up:

-Question: enter the question of the survey.
-Choices: enter options, and add multiple ones by pressing (more).
-Starting Date: set the date when the survey starts.
-End Date: set the date when the survey ends, noting that the poll will removed from the poll block after the set date.
-Allow Multiple Choices: enable or disable allowing the same person to choose several answers.
-Poll position: choose the location where the poll is displayed on the website with any need to create a dedicated block.
Press (Submit) to add the poll, or ( Reset) to re enter a new data.
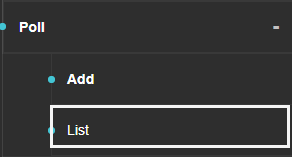
Thirdly: To list, edit, or delete polls, follow the below:
From the control panel> plugins> polls> then news list as shown in the below picture:
The below picture will show up:

-Edit Icon: is used to edit the poll.
-Delete Icon: is used to delete the poll.
Fourthly: The plugin block displaying method on the website:
The block (poll) can be added to any location on the website using the default layout, for more details, click here
 Please Wait...


