To add new fields:
1- Log In to the CPannel
2- From the side list, choose (E-Center) > ( Fields Groups)> (list)> then press icon (Add) as shown in the below picture:

Some options will show up as appeared in the following picture:
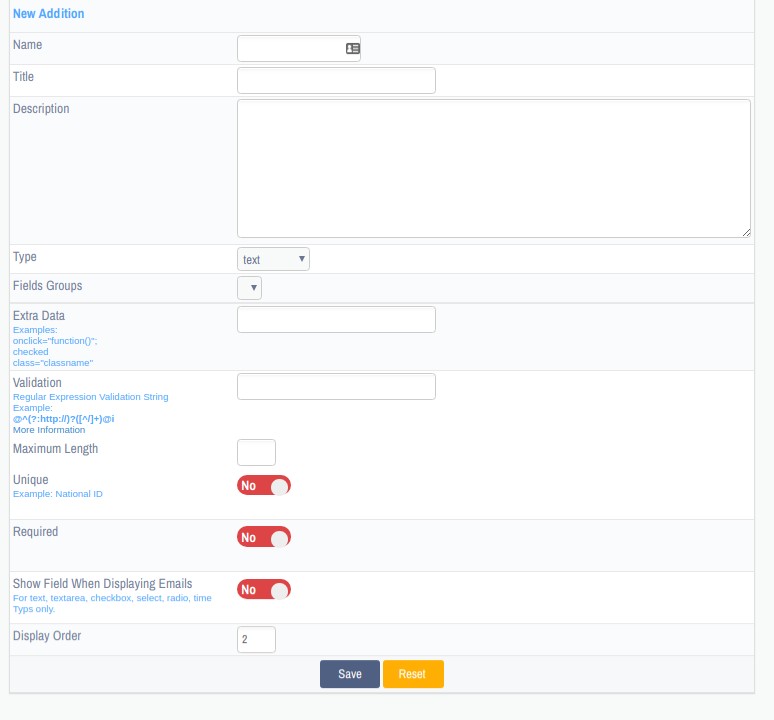
- Name: is the field name and has to be only in English.
- Title: it will be shown in front of the field.
- Description: if the field needs to be described, this box should be filled.
- Fields Groups: are the groups in which the fields will be included in the template.
- Extra Data: this option enables to add any extra staff to the field such as, style or class.
- Unique: Something can’t be duplicated, has to be added like National ID.
- Required: this option makes it mandatory that the visitor should fill in the field to send an email.
- Display Order: it enables to put fields in order.
Hereunder, an explanation for each field individually:
1- To create text field:
Choose field type (text), then adjust next settings:
- Checking Content: the option enables to check that the content contain letters and numbers, adding http:// before any link and so forth.
- The maximum number of letters: this option enables to set a certain number of entered letters. In case the user exceeds it, a notification will be shown up.
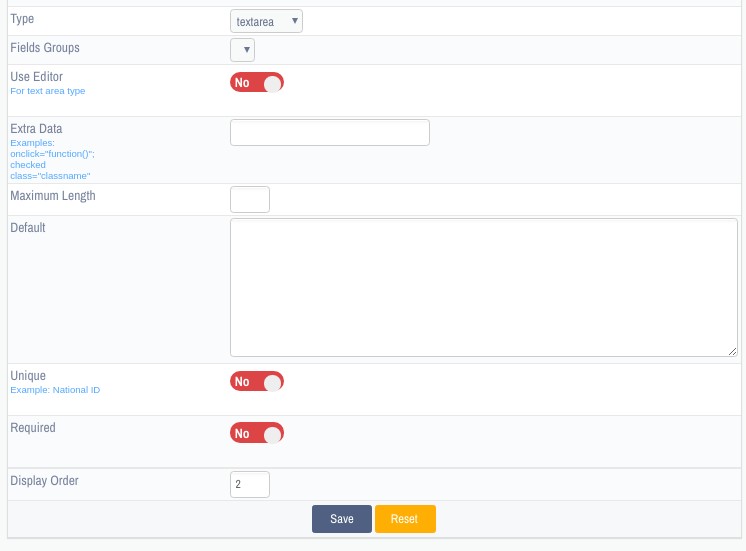
2- To create field (Text area)
Choose field type (text area), then adjust next settings:
- Use editor: this option enables to include a selected editor to justify the text.
- Default: enables to enter a default text that appears in the text area.
- Maximum Length: this option enables to set a certain number of entered text letters. In case the user exceeds it, a notification will be shown up.
3- Create field (Check Box):
Choose field type (Checkbox), then enter the data:
- Name: is the field name and has to be only in English.
- Title: it will be shown in front of the option.
- Value: is the value through which the program will deal, a numeric one can be set (1) and increased incase of increasing the examinations number.
- Selected: this option has to be activated in case of selecting any properties.

4- Create field (Radio):
Choose field type (Radio), then enter the data:
- Name: is the field name and has to be only in English.
- Title: it will be shown in front of the option.
- Value: is the value through which the program will deal, a numeric one can be set (1) and increased incase of increasing the examinations number.
- Selected: this option has to be activated in case of flagging any properties.

5- Create field (Select):
Choose field type (Select), then enter the data:
- Name: is the field name and has to be only in English.
- Title: it will be shown in front of the option.
- Value: is the value through which the program will deal, a numeric one can be set (1) and increased incase of increasing the examinations number.
- Selected: this option has to be activated in case of flagging any properties.

6- Create field (File) :
Only choose the field type (File).

7- Create field (Date):
Choose field type (checkbox), then enter next options:
- Years Back: the number of past years shown in this field.
- Years Front: the number of future years shown in this field.

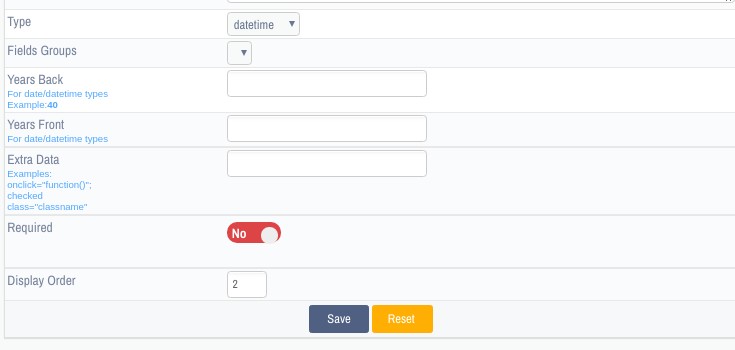
8- Create field (Date time):
Choose field type (checkbox), then enter next options:
- Years Back: the number of past years shown in this field.
- Years Front: the number of future years shown in this field.
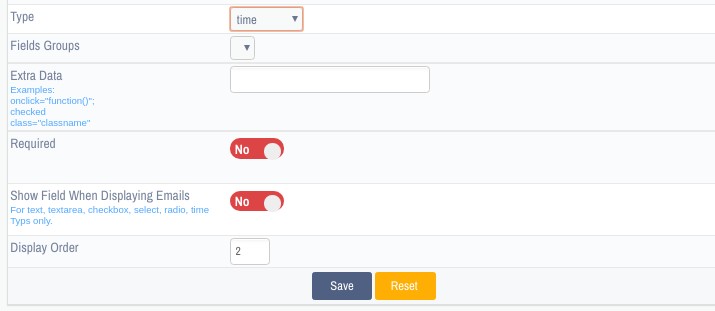
9- Create field (Time)
Only choose field type (Time).
10- Create Field (MultiFields)
This field is considered to be a highly significant one, as it enables multiple fields to be included at the same time. The supported ones are checkbox, select, text and radio.
To select one of those fields, press its icon, and the above explained properties will show up.
- Show "more" button up to: this option enables to control the number of adding the same field incase of being added more than once.
- All Fields Options:
View field while reviewing messages: this option enables to view the field content that was entered by the user while reviewing the message using the CPanel.

 Please Wait...


