Brief: this setting allows you to control some features of Dimofinf CMS related to security and protection such as censorship, IP or email block and other features.
To control the settings of the security and protection options:
1- Login to Admin Control Panel.
2- Choose (Settings) from the side menu then (Dimofinf Settings), as shown in the following picture:

3- A list will show up, choose (Security Options), as shown in the following picture:
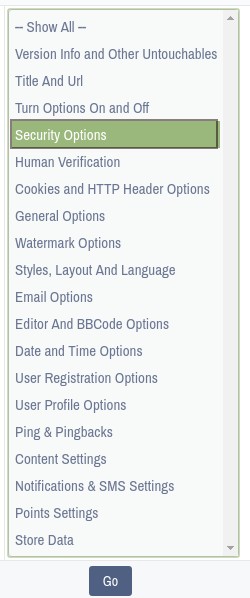
4- The options of these settings will show up, as shown in the following picture:

- Enable Censorship: sometimes you may have certain words censored on your website; so here you can choose to enable or disable this feature.
- Character to Replace Censored Words: you can insert the character that will be displayed instead of the censored word in this field.
- Censored Words: you can insert the censored words in this field, and you have to separate them with spaces or lines, but don’t use commas in this field, for example: if you insert the word (bad), all the phrases that include the word (bad) will be affected by such censorship, so the phrase (bad person) will appear as (*** person). To impose more accurate control, you can apply the control to the censored words only by writing the censored word between curly braces, for example: {bad}, this means that writing the word (bad) between the curly braces will make the phrase (bad person) appear as it is, but the single word (bad) will appear as (***). Thus, your censored words list may appear as follows: (stinky {bad} foolish).
- Blank ASCII Character Stripper: this option allows you refine ASCII letters in texts, posts, etc. you can enter these letters in the form of the letter number in ASCII format separating each two letters with a space.
- Referrer Whitelist: for security purposes, Dimofinf approves sending only from the websites on which Dimofinf CMS is installed. If you want to allow other domains or subdomains to send posts to your website, type these domains in new separated lines. Type the domains in this form ".domain.com" including the dot.
- Enable Banning Options: you can enable or disable the block property for a certain IP or email through this option.
- Banned IP Addresses: you can enter here the IP to be blocked and prevent it from using all your website departments. The IPs should be separated with a space.
- Banned Email Addresses: you can enter the emails to be blocked in this field. If you type the full email, only the email will be blocked without blocking the email provider extension. However, if you want to block the provider, type the domain as follows “@example.com”.
- Strict Email Banning: if this option is enabled, incomplete addresses will be matched with any part of the email address, not just with the end of the address, for example, if this option is enabled, "gmail" will block any email address that include the word "gmail". If this option is disabled, no emails will be banned unless the ban is changed to "gmail.com".
- Minimum Time Between Communications: is the minimum time (in minutes) between one communication and another on the website. If the visitor wants to perform a new communication, a waiting message will show up. Set zero (0) to disable this option.
- Minimum Time Between Searches: is the minimum time (in minutes) between one search and another by the website visitor. If the visitor performs a new search before time expiration, a waiting message will show up. Set zero (0) to disable this option.
- Ignored Search Words: You can add words that you would like to be ignored by the system during the searching process performed by users.
- Session IP Octet Length Check: is selecting the subnet mask length which reflects the level of checking you wish to run against IPaddresses when a session is being fetched. This is useful if you have members and users who are behind transparent proxies and have an IP address that is changed continuously for each browsing process. The more this is decreased, the greater the security risk against session hijacking.
- UseLogin "Strikes" System: Setting this to "No" will disable the system that prevents a user (with a specific IP address) for a while from logging into an account after entering an incorrect password 5 times before being able to retry logging in.
 Please Wait...


